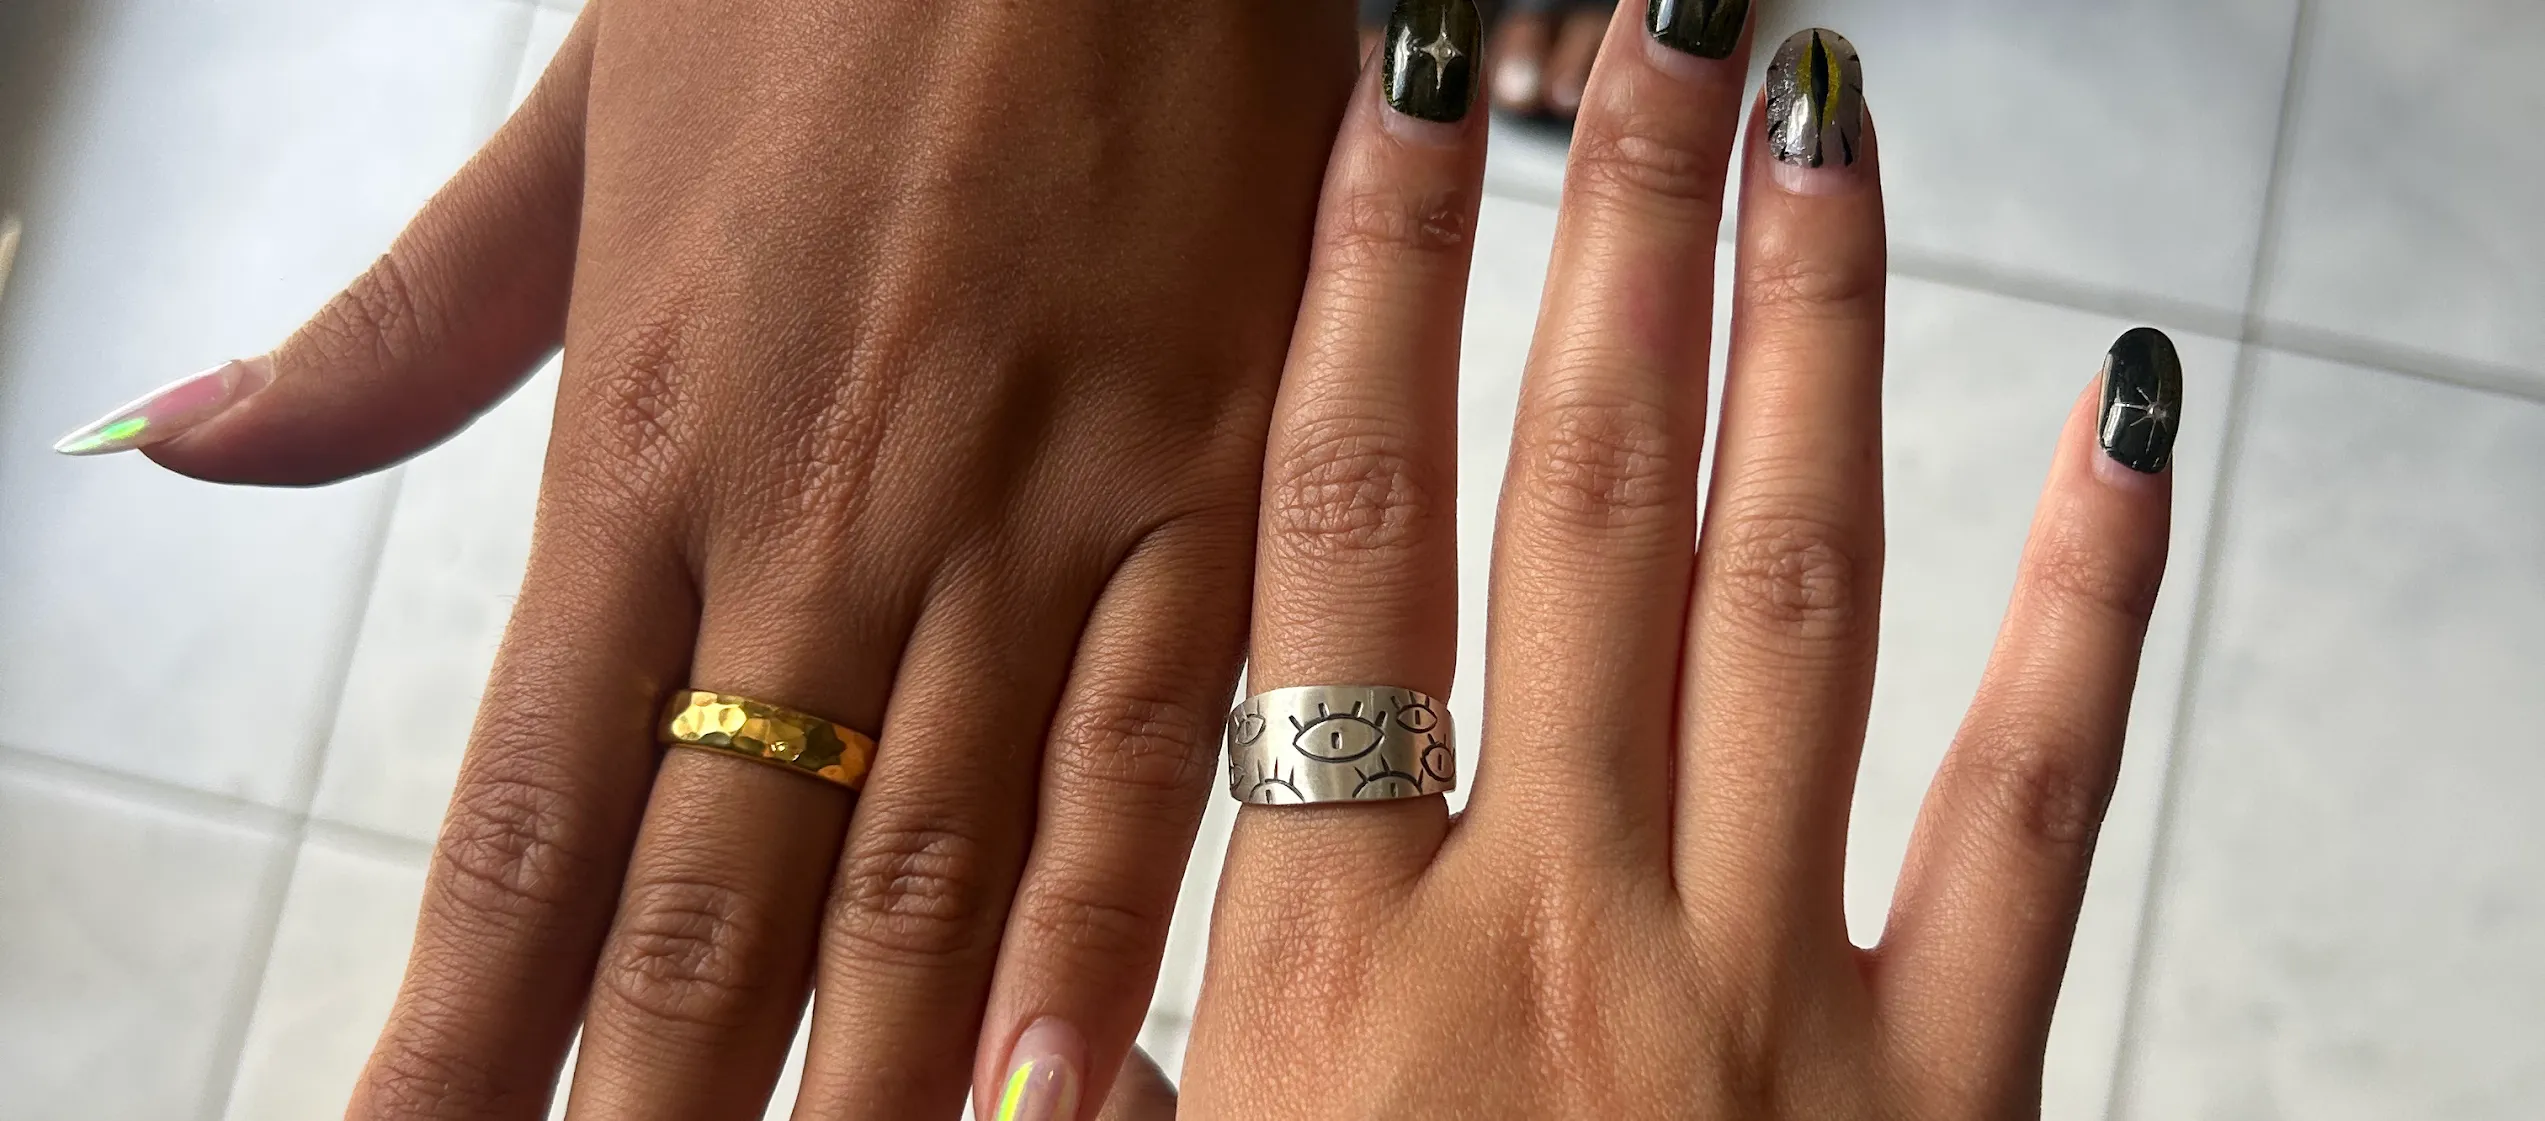
Bali is synonymous with art. From painting and woodcarving to batik and dance, the island breathes creativity. But one art form has captured the hearts of travelers more than any other in recent years: Silversmithing.
For decades, the village of Celuk was the only place to find silver. But now, workshops have sprung up in cultural hubs like Ubud and Canggu, making it accessible to everyone.
If you are considering taking a silver jewelry class but aren't sure what to expect, this guide is for you. We will walk you through the entire process, from the first sketch to the final polish.
Why Take a Silver Class in Bali?
Before we dive into the "how," let's look at the "why."
- Cultural Immersion: You learn techniques passed down through generations of Balinese Pande (smiths).
- Mindfulness: It is a deeply focused, meditative activity that gets you off your phone.
- Value: You get an experience and a high-quality souvenir in one package.
- Accessibility: Unlike surfing or diving, you don't need to be physically fit or have any prior skills. It is suitable for ages 7 to 80+.
The Process: Step-by-Step
At Krisna Silver Class, we guide you through the traditional fabrication process. We don't use casting machines; everything is done by hand. Here is what a typical 3-hour class looks like.
Phase 1: Design and Preparation
Everything starts with an idea.
- Inspiration: We provide samples and books to spark your creativity. Simple, organic shapes often work best for beginners.
- Sizing: We measure your finger (if making a ring) to ensure a perfect fit.
- The Material: You start with pure silver granules or sterling silver wire/plate.
- Weighing: We weigh the silver to ensure you have the right amount (usually up to 5-10 grams is included in the package).
Phase 2: The Fire (Annealing and Melting)
This is the exciting part!
- Melting: If we need to create a specific shape, we melt the silver grains in a crucible using a gas torch.
- Molding: The molten silver is poured into a mold to create a bar.
- Rolling: We use a rolling mill (a hand-cranked machine) to flatten the silver bar into a sheet or wire of the desired thickness.
- Annealing: Metal hardens when you work it. We constantly heat it (anneal) to keep it soft and workable.
Phase 3: Shaping and Sawing
This is where the skill comes in.
- Bending: Using pliers and mandrels, you bend the wire or sheet into your ring shape.
- Sawing: You learn to use a jeweler's saw. This requires a gentle touch and rhythmic motion. It's meditative but requires patience!
- Filing: We file the ends of the ring so they meet perfectly flush. A good join is essential for a strong solder.
Phase 4: Soldering
The magical moment where the ends fuse together.
- Flux: We apply flux to clean the metal and help the solder flow.
- Heat Control: You control the torch. The goal is to heat the silver, not just the solder, until the solder melts and flashes across the join.
- Quenching: The hot ring is dipped in water to cool it instantly.
Phase 5: Texturing and Decoration
Now you make it yours.
- Hammering: Use different hammers to create dimpled, bark-like, or lined textures.
- Stamping: Punch letters or numbers inside the ring (names, dates, coordinates).
- Granulation: Add tiny silver balls or twisted wire for a traditional Balinese look.
Phase 6: Finishing
The final transformation.
- Sanding: We use progressively finer sandpaper to remove scratches and fire scale.
- Polishing: The ring goes onto a polishing wheel. In seconds, it transforms from dull grey to brilliant, mirror-like silver.
- Oxidizing (Optional): We can use a chemical solution to turn the silver black, then polish the high points. This creates contrast and highlights the texture.
What is Included?
When comparing silver classes in Bali, check what is included in the price. At Krisna Silver Class, our package covers:
- Silver: Up to 5 grams of silver (enough for a substantial ring or pendant). Extra silver can be purchased if you want a chunky piece.
- Tools & Safety Gear: All hammers, saws, torches, and aprons.
- Expert Tuition: One instructor usually manages 2-4 students, ensuring plenty of help.
- Welcome Drink: Water, tea, or coffee to keep you hydrated.
- Gemstones (Optional): We have a selection of stones (moonstone, turquoise, amethyst, etc.) available for a small extra fee.
Tips for Beginners
- Keep it Simple: Complex designs with multiple soldering points can be frustrating for a first-timer. A simple hammered band often looks more professional than a messy complex one.
- Listen to the Smith: Our instructors know the metal. If they say a design is too fragile or difficult, trust them!
- Be Patient: You will break a saw blade. You might melt a piece. It happens to everyone! Laugh it off and try again.
- Dress appropriately: Wear closed-toe shoes if possible (dropping a hot tool is rare but possible). Tie back long hair.
Ready to Hammer?
Silversmithing is a journey. It connects you to the elements—fire, metal, water—and to your own creativity. It is an experience that stays with you long after the tan fades.
Krisna Silver Class is located in the heart of Canggu, making it the perfect morning or afternoon activity before hitting the beach clubs.
Book Your Bench Here
Copyright © 2024 Krisna Silver Class. All rights reserved.