"I've never done anything artistic before. I can't even draw a stick figure."
We hear this confession almost every day. It is the most common hesitation for travelers looking to book a workshop. But here is the secret we share with every guest at Krisna Silver Class: jewelry making isn't about innate talent; it’s about following a process. It is a series of small, manageable steps that, when put together, create something beautiful.
In this comprehensive guide, we are pulling back the curtain on our beginner silversmithing class. Whether you are a solo traveler exploring the vibrant streets of Canggu, a couple looking for a unique romantic activity, or a family wanting a break from the beach clubs, this guide will walk you through exactly what to expect. By the time you finish reading, you will be ready to pick up a torch and create a memory you can wear forever.
Why Choose a Silversmithing Class in Bali?
Bali is often referred to as the "Island of the Gods," but it could just as easily be called the "Island of Artisans." The island is world-renowned for its intricate silver craftsmanship, particularly in regions like Celuk and Ubud. However, the art form has spread across the island, becoming a "must-do" cultural activity for visitors.
Taking a silver jewelry class in Canggu isn't just about the souvenir; it is about connecting with a centuries-old tradition. Balinese silversmithing is unique, characterized by intricate granulation (jawan) and filigree (bun) techniques. While a beginner class focuses on foundational skills, you are learning in an environment steeped in this rich history.
Unlike buying a ring from a shop, making it yourself imbues the object with a story. Every hammer mark, every file stroke, and every little imperfection is yours. It captures a moment in time. Plus, in a world dominated by mass-produced fast fashion, there is a profound satisfaction in slowing down and crafting something with your own two hands. It is mindful, tactile, and incredibly rewarding.
The Environment: Your Creative Sanctuary
Forget the image of a dark, industrial factory. Our studio in Canggu is designed to reflect the island’s spirit—open-air, breezy, and incredibly relaxed. We believe creativity flows best when you are comfortable. Located away from the chaotic traffic, our workshop offers a serene escape where you can focus entirely on your craft.
When you arrive, you will be welcomed with a refreshing drink and assigned your own jeweler’s bench. This is your cockpit for the next three hours. It is a professional setup, modified for beginners, containing all the essential tools you will need:
- The Bench Pin: A wooden block extending from the table that supports your silver while you work. This is your primary workspace.
- Jeweler’s Saw: The primary tool for cutting metal. It looks like a U-shaped bracket with a very fine blade.
- Pliers & Cutters: A variety of pliers (flat nose, round nose) for bending, shaping, and snipping silver wire.
- Files & Sandpaper: A set of files for shaping edges and sandpaper sticks for smoothing and refining surfaces.
- The Torch: Your source of fire and heat, essential for annealing (softening) and soldering the metal.
- Hammers & Mallets: Steel hammers for texturing and rawhide mallets for shaping without marking the metal.
Pro Tip: Don't worry if the tools look intimidating. We limit our class sizes to ensure our instructors can guide you one-on-one through the function of each tool. You are never left to figure it out alone.
The Process: A Step-by-Step Breakdown
We have broken down the 3-hour workshop into distinct phases. This structured approach ensures that even complete novices can produce professional-quality results. Here is the roadmap of your journey from raw metal to a finished masterpiece.
Phase 1: Inspiration and Design
Every great piece starts with an idea. We begin by browsing our "Hall of Fame"—a gallery of samples created by previous students and our master silversmiths. This helps you understand what is possible within the timeframe.
- What can you make? Beginners typically start with rings, pendants, simple earrings, or cuff bracelets. Rings are the most popular choice as they allow for a variety of textures and finishes.
- Custom Designs: Have a Pinterest board ready? Great! Show us your ideas. Our instructors will assess the feasibility of your design. If a design is too complex for a 3-hour window, we will help you simplify it without losing the aesthetic you love.
- Material Selection: We work with Sterling Silver (925) or higher purity silver. You will be given a specific amount of silver (usually 5-10 grams), which is plenty for a substantial ring or pendant.
Phase 2: Sizing and Measuring
Precision is key in jewelry making. If you are making a ring, we use a set of ring sizers to find your exact fit. We measure the silver wire or sheet and mark the cut line. This is where the physics of jewelry making begins—we must account for the thickness of the metal to ensure a perfect fit once the ends meet. A millimeter difference can make a ring too tight or too loose!
Phase 3: The Cut (Sawing)
This is often the most challenging part for beginners, but also the most meditative. You will use a jeweler’s saw with a blade as fine as a hair to cut your silver to the correct length.
- Technique Tip: The trick is to keep the saw frame vertical and relax your grip. Let the blade do the work. If you push too hard, the blade will snap (don't worry, this happens to everyone!).
- The Goal: You want to hear a rhythmic hiss-hiss-hiss. Once you find your rhythm, sawing becomes incredibly satisfying.
Phase 4: Fire and Form (Annealing)
Silver becomes hard and brittle when you work it (a property called "work hardening"). To shape it into a circle, we must first soften it through a process called annealing.
Using a gas torch, we gently heat the silver until it glows a dull cherry red. This relaxes the metal's molecular structure. The hot silver is then plunged into water (quenched), making it soft and pliable enough to be bent around a steel mandrel using pliers and mallets.
Phase 5: Soldering (The "Scary" Part)
This is the moment that makes you feel like a true alchemist. Soldering involves fusing the two ends of your piece together using heat and a tiny alloy called "solder."
- Flux: We apply a paste called flux to the joint to prevent oxidation and help the solder flow.
- Heat Control: You don't aim the flame directly at the solder; you heat the whole ring evenly.
- The Flash: As the silver reaches the right temperature, the solder will suddenly flash and flow like liquid mercury, sealing the gap instantly. It’s a magical moment to watch!
Phase 6: Refining and Texturing
After soldering, your ring might look a bit black (fire scale) and lumpy. Now we refine it. We use a rawhide mallet to pound it into a perfect circle on a steel mandrel.
This is also where the fun begins! You can choose to add texture:
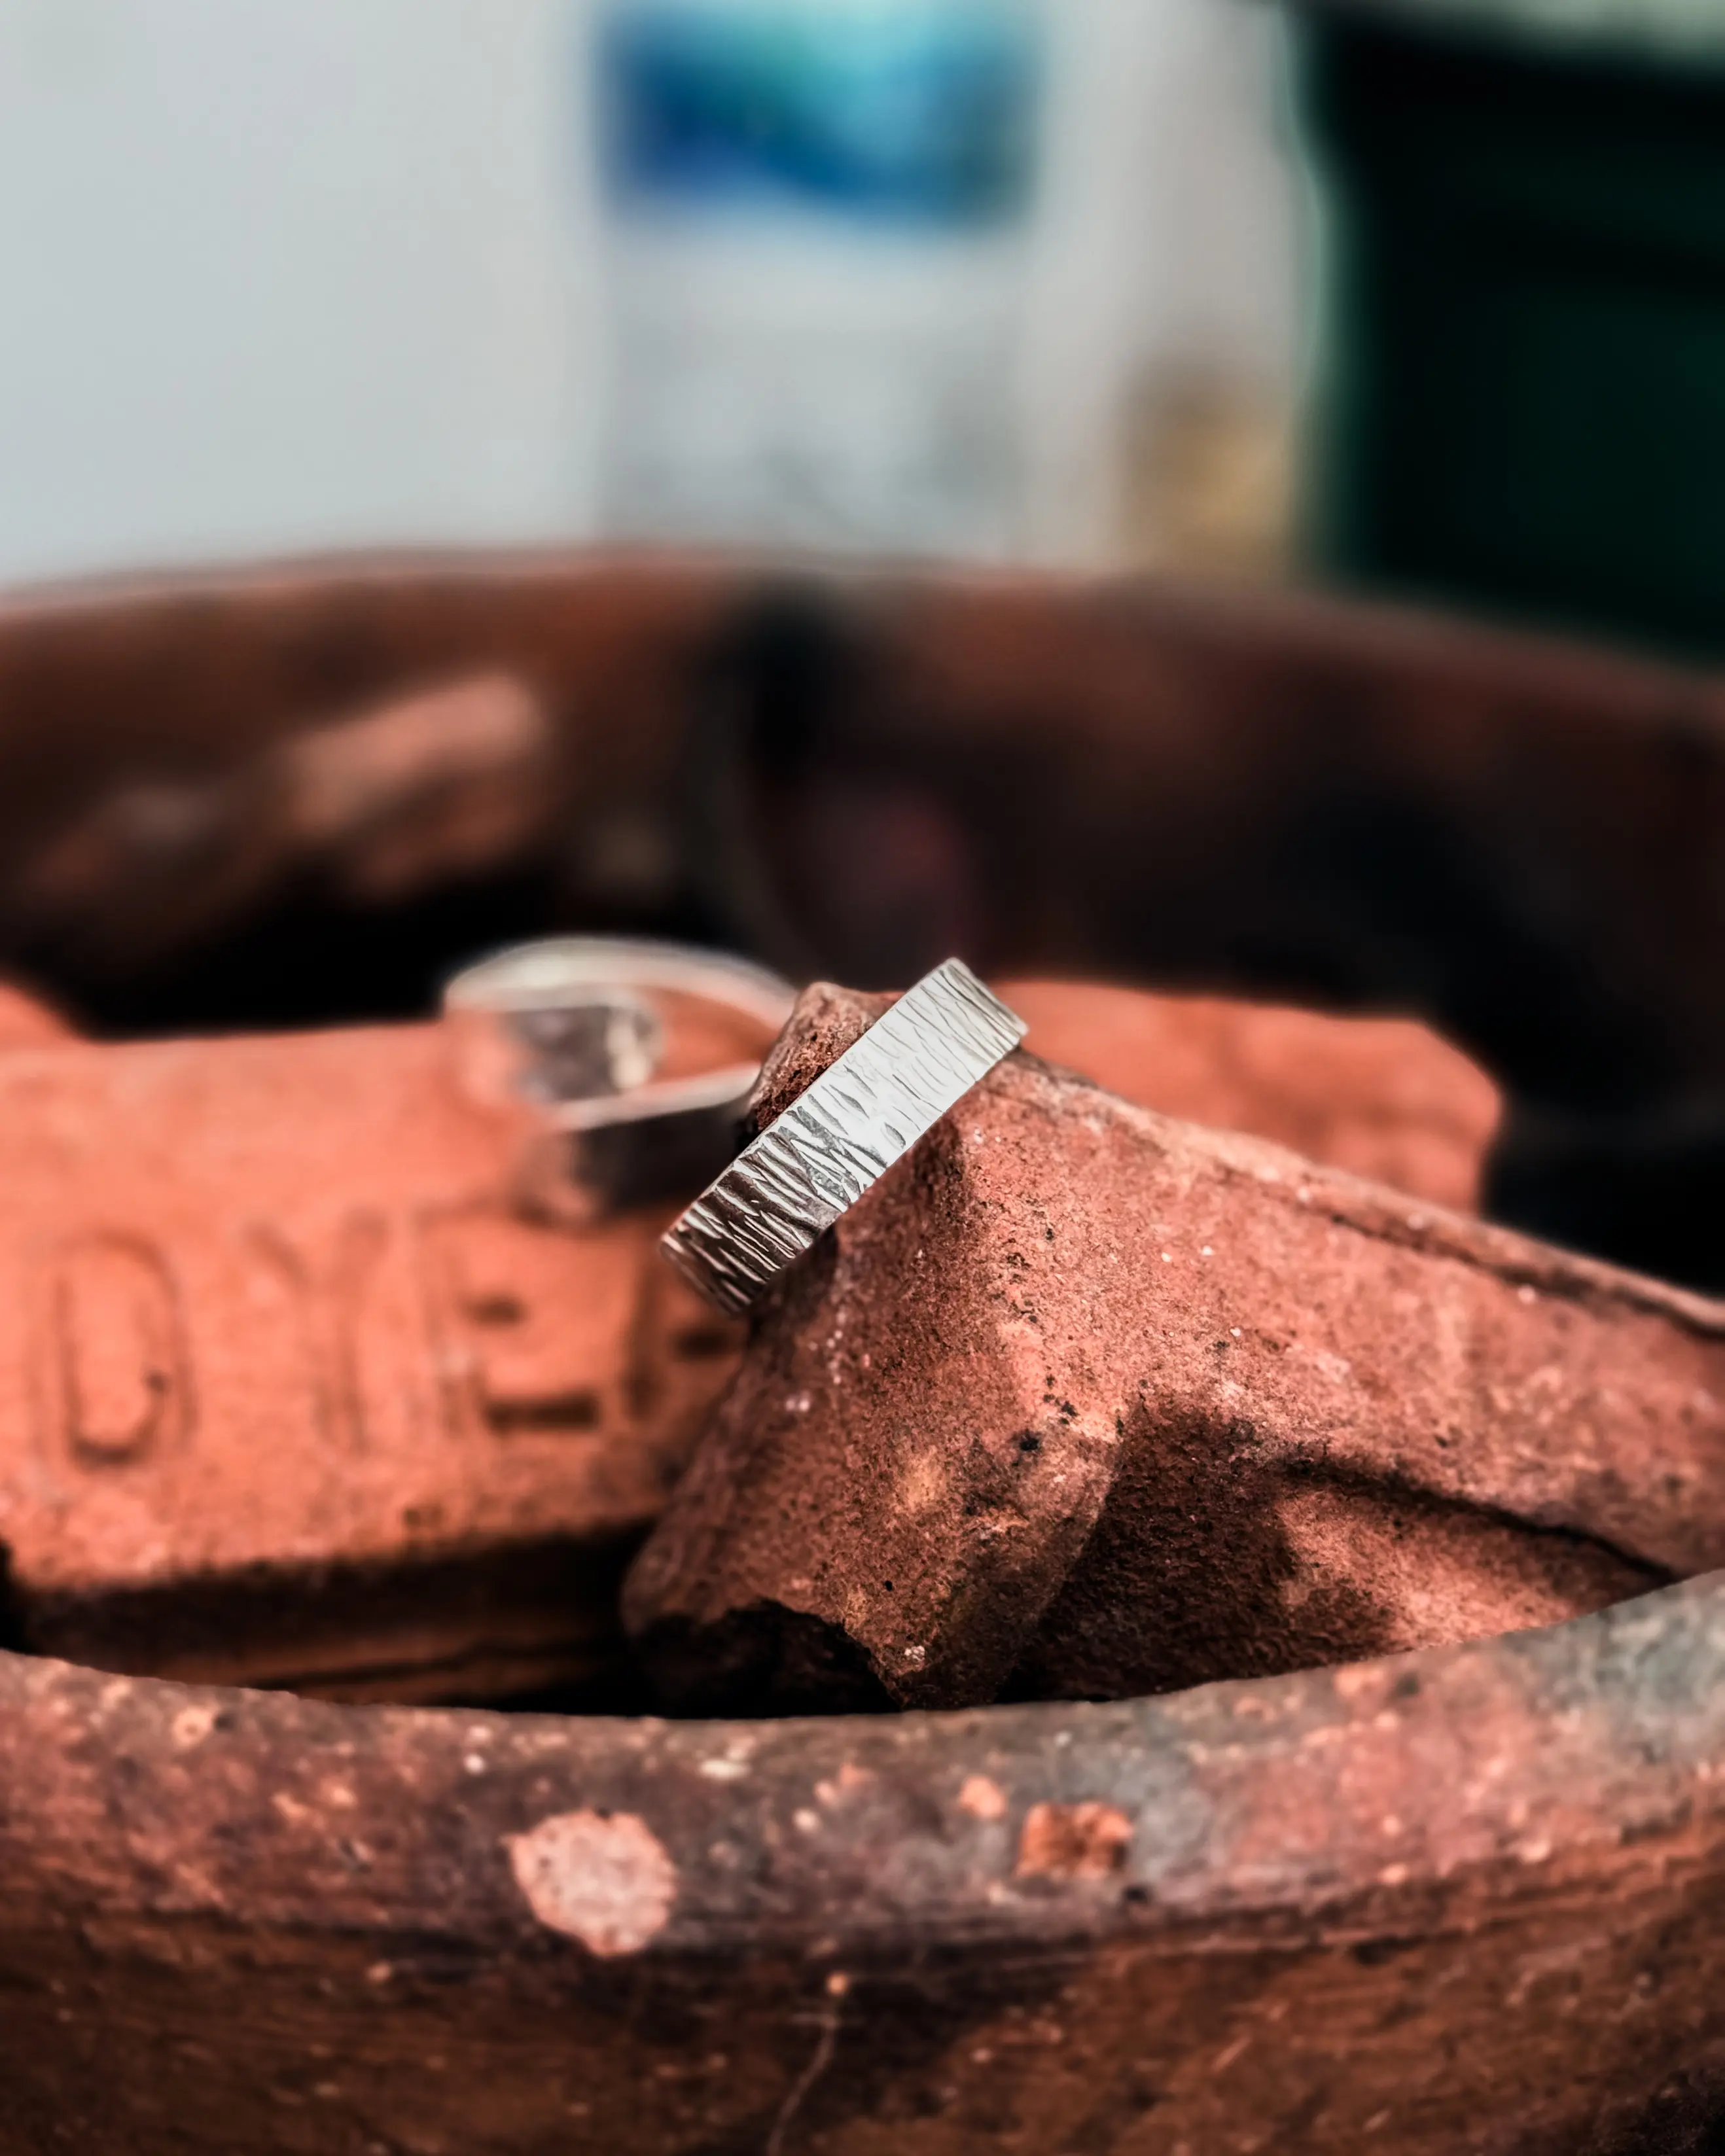
- Hammered Finish: Use a texturing hammer to create facets that catch the light like a disco ball.
- Stamping: Add personal initials, dates, or meaningful words inside the band.
- Matte vs. Shiny: Decide on the final look of your surface.
Phase 7: The Final Polish
The final hour is dedicated to filing, sanding, and polishing. This is where the hard work pays off.
- Filing: Removes excess solder and smooths sharp edges.
- Sanding: We move through different "grits" of sandpaper (from coarse to fine) to remove all visible scratches.
- Polishing: Finally, we use a polishing motor with a soft cotton wheel and polishing compound. In seconds, your dull grey metal transforms into a mirror-like, gleaming silver.
Safety and Requirements
Your safety is our priority. While silversmithing is generally safe, we are working with open fire, hot metal, and sharp tools. We adhere to strict safety protocols:
- Attire: Long hair must be tied back to avoid catching in the polishing wheel or torch flame. We recommend closed-toe shoes to protect your feet from dropped tools.
- Eye Protection: Safety glasses are provided and must be worn during sawing and polishing phases.
- Expert Guidance: A professional instructor is always within arm's reach. If you feel nervous about the torch, they can handle that step for you. You are in safe hands.
Who is This Class For?
Our beginner workshop is designed to be inclusive and accessible.
- Solo Travelers: A great way to meet people and spend a productive afternoon.
- Couples: A fantastic alternative to a dinner date. Make promise rings or simply enjoy a shared creative experience.
- Families: Children aged 10 and up can participate (with supervision). It’s a wonderful way to keep kids engaged and off their screens.
- Groups & Team Building: We can host private groups for hen parties, birthdays, or corporate retreats.
Common Beginner Questions (FAQs)
| Question | Answer | | :--- | :--- | | Can children participate? | Yes, children aged 10+ are welcome with parental supervision. We have experience guiding younger students safely. | | What if I make a mistake? | Silver is forgiving! We can almost always fix, resize, or reshape your piece. Mistakes are just part of the learning process. | | Can I bring my own gems? | We recommend sticking to silver for your first class to master the basics. However, we do offer gemstone setting as an advanced add-on if you are feeling confident. | | How long does it take? | A standard beginner workshop takes approximately 3 hours from start to finish. We recommend not booking tight connections immediately after. | | Do I get to keep what I make? | Absolutely! You walk away with your finished silver jewelry, packaged in a beautiful box. |
Walk Away with Pride
The best moment of the workshop is the end. You wash your hands, scrubbing away the polishing compound, put on the ring or pendant you created from scratch, and look in the mirror. There is a distinct glow of pride that comes from wearing your own art.
You aren't just leaving with a piece of jewelry; you are leaving with a new skill, a story to tell, and a tangible memory of your time in Bali. Every time you glance at your hand, you will remember the sound of the saw, the heat of the torch, and the satisfaction of creating.
Ready to ignite your creative spark? Don't let the fear of "not being artistic" stop you. Our team is ready to guide you every step of the way. Join us at Krisna Silver Class in Canggu and discover the artisan within you.
Book Your Jewelry Workshop Here
Copyright © 2024 Krisna Silver Class. All rights reserved.